개요
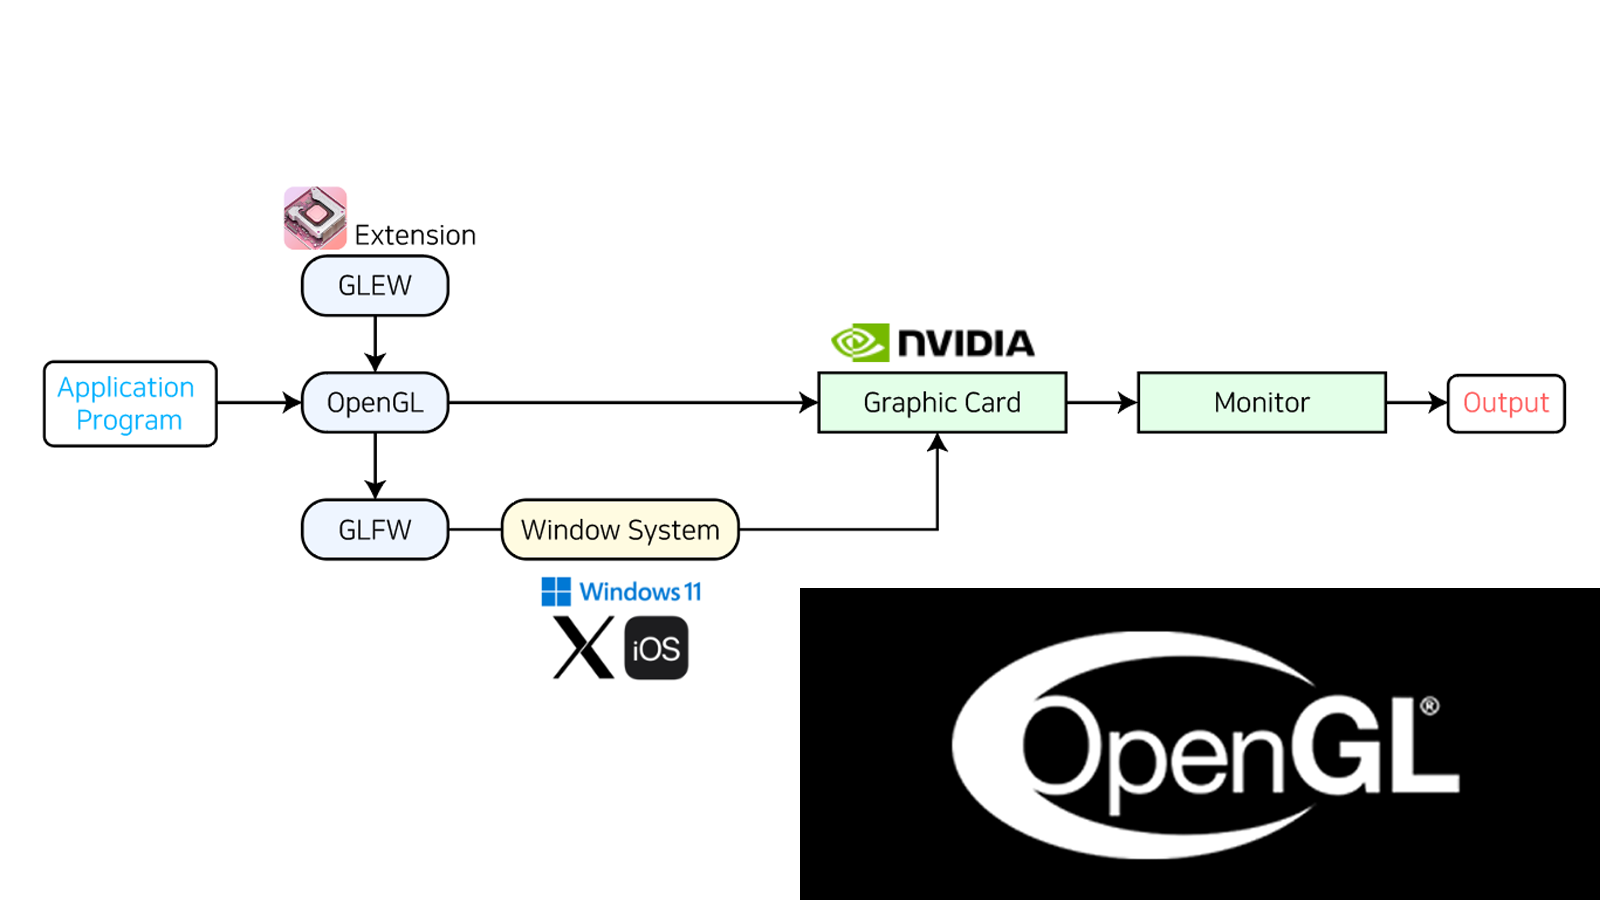
OpenGL과 GLFW, GLEW를 설치 및 실행 후 간단한 프로그램을 작성합니다.
Window OS 기준으로 작성하며 Linux 설정은 다루지 않습니다.
(Geforce Experience, Nvidia)
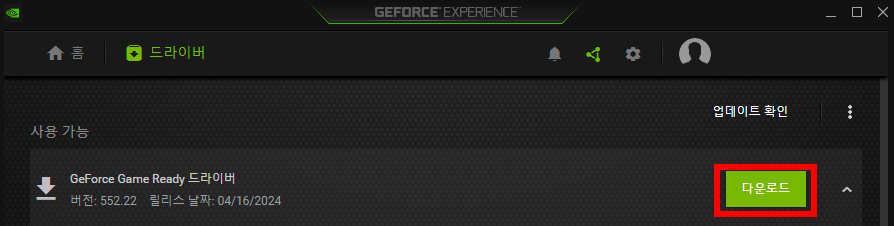
먼저 OpenGL을 설치하기 위하여 그래픽 카드 드라이버를 최신으로 업데이트 합니다. OpenGL 4.x 이상 버전을 지원하는지 확인하세요.
만약 Nvidia 그래픽 카드를 사용하신다면 Nvidia 다운로드 센터나 Nvidia Geforce Experience 를 이용하여 그래픽 카드를 최신으로 업데이트 해주세요.
GLFW 설치 하기
(GLFW Windows Pre-compiled binary, GLFW)
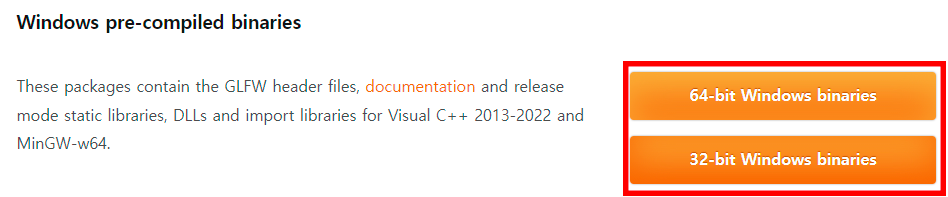
GLFW를 본인 컴퓨터의 운영체제(32 bit 또는 64 bit) 에 알맞게 다운로드 받습니다. 저는 64 bit을 다운로드 받고 진행 합니다.
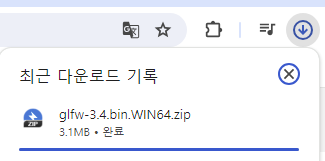
glfw-3.4.bin.WIN64.zip 파일이 자동으로 다운로드 됩니다.
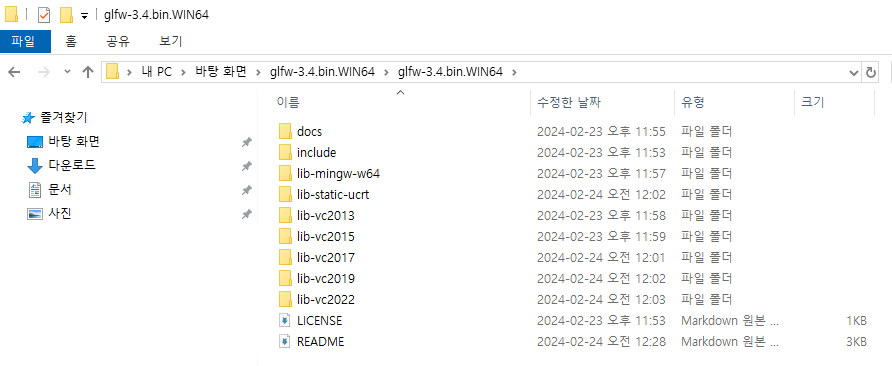
다운로드 받은 .zip 파일을 압축 해제 하고 본인이 사용하는 Visual Studio 컴파일러(Compiler) 버전에 맞는 폴더가 있는지 확인합니다.
예를 들어 Visual Studio 2022 버전을 사용한다면 lib-vc2022 폴더가 있는지 확인하세요.
IDE 설정하기
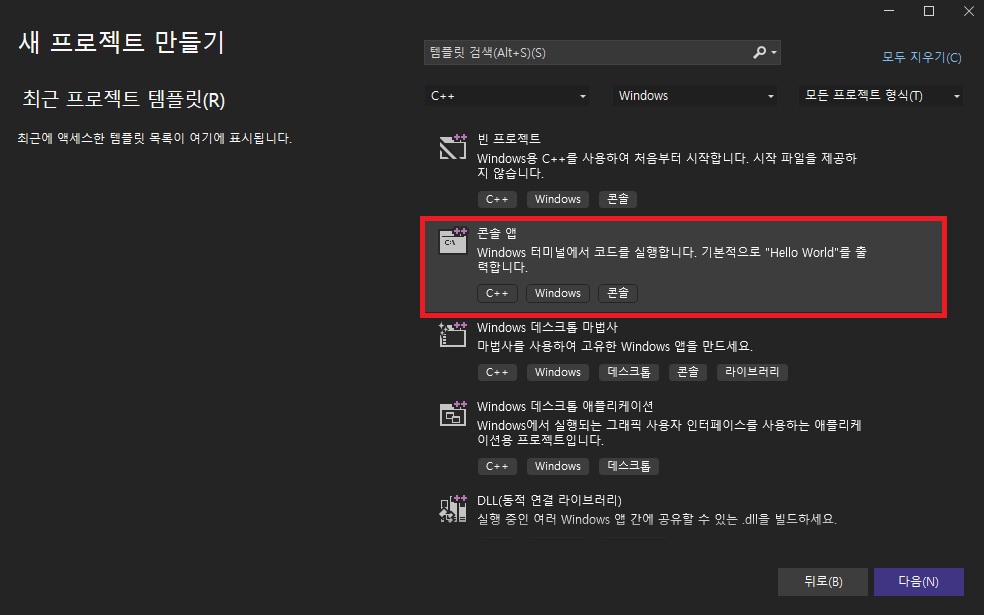
C++ 과 Windows 콘솔(Console)을 사용하는 템플릿으로 시작하는 것이 가장 무난합니다. 솔루션을 생성해줍니다.

프로젝트 옵션에서 미리 컴파일 된 헤더(Pre-compiled headers) 옵션을 사용 안 함으로 설정하는 것을 권장합니다.
만약 pch.cpp, pch.h 로 등록되어 있다면 이를 삭제 하는 것이 좋습니다.
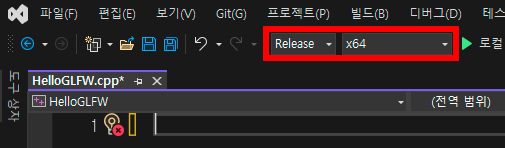
본인 컴퓨터의 운영체제에 맞춰서 x64, 컴파일 모드를 반드시 release 모드로 설정해야 합니다.
공용 폴더에 라이브러리 설치하기
#pragma comment(lib, "glfw3.lib")
glfw3.lib를 #pragma 전처리기를 이용하여 직접 코드에 추가해줍니다.
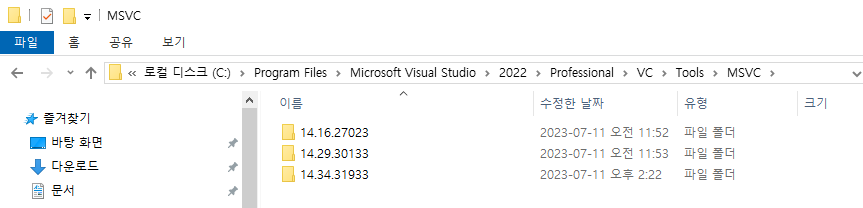
- (C:\Program Files\Microsoft Visual Studio\20xx\Professional(커뮤니티 버전이면 Community)\VC\Tools\MSVC\xx.yy.zzzzz)
본인이 사용하는 Visual Studio 의 컴파일러 버전 xx.yy.zzzzz의 폴더를 찾아서 들어갑니다.
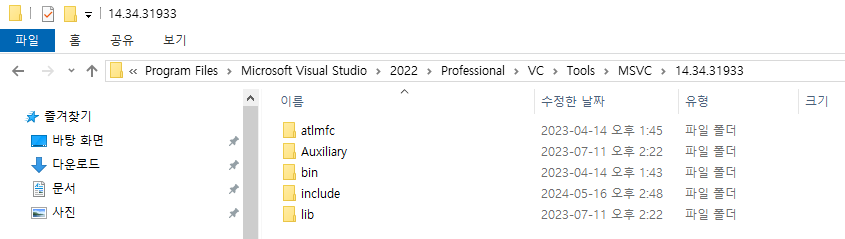
내부를 살펴보면 위와 같이 컴파일러 폴더 하위에 include lib bin 폴더가 분리되어 있습니다.
이 폴더 위치에 맞춰서 GLFW의 헤더(Header), 라이브러리(library), .dll 파일을 공용 폴더 위치에 직접 옮겨줘야 합니다.

include lib bin 순서대로 설치 하겠습니다.

먼저 xx.yy.zzzzz/include에 GLFW 헤더 파일이 들어있는 폴더 glfw-3.4.bin.WIN64/include/GLFW를 복사 후 붙혀넣기 합니다.
다음은 xx.yy.zzzzz\lib\x64 에 glfw-3.4.bin.WIN64\lib-vc2022 하위의 glfw3.lib glfw3_mt.lib glfw3dll.lib 파일을 복사 후 붙혀넣기 합니다.
마지막으로 xx.yy.zzzzz\bin\Hostx64\x64 에 glfw3.dll 파일을 복사 후 붙혀넣기 합니다.
직접 라이브러리 폴더 경로 설정하기

솔루션이 위치한 폴더에 헤더, 라이브러리, .dll 파일을 함께 담아둘 폴더를 만듭니다. 폴더 이름은 GLFW로 지정했습니다.
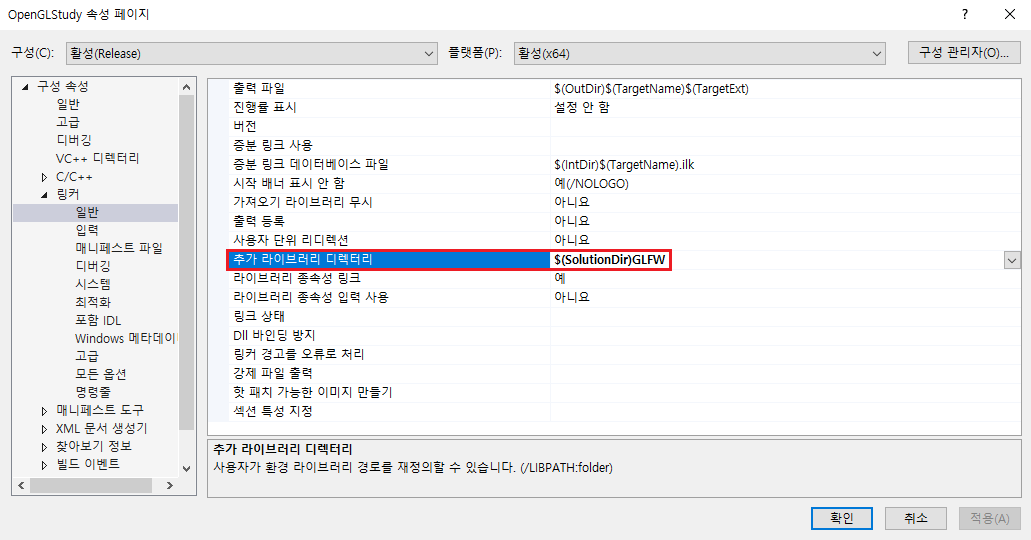
$(SolutionDir)GLFW
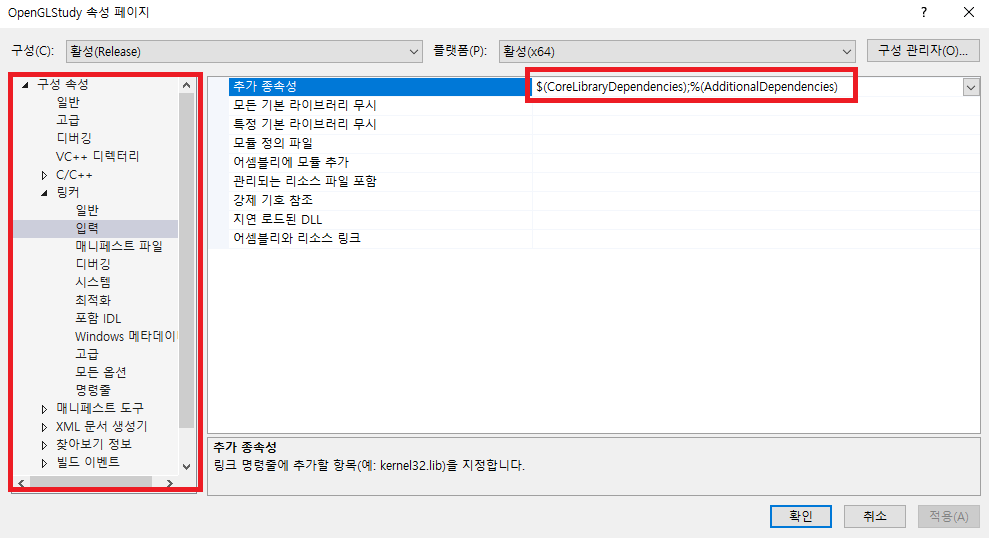
‘프로젝트 속성’에서 ‘링커’ - ‘일반’ - ‘추가 라이브러리 디렉터리’에 매크로를 사용하여 위와 같이 작성해줍니다.

$(VC_IncludePath);$(WindowsSDK_IncludePath);$(SolutionDir)GLFW
$(VC_LibraryPath_x64);$(WindowsSDK_LibraryPath_x64);$(SolutionDir)GLFW
‘VC++ 디렉터리’ - ‘포함 디렉터리’ 와 ‘라이브러리 디렉터리’에 매크로를 사용하여 위와 같이 작성해줍니다.
GLFW 간단한 프로그램 작성
#include"GLFW/glfw3.h" // or #include<GLFW/glfw3.h>
#pragma comment(lib,"glfw3.lib")

const unsigned int WIN_W = 300;
const unsigned int WIN_H = 300;

int main(void)
{
  // start GLFW
  glfwInit();
  GLFWwindow * window = glfwCreateWindow(WIN_W, WIN_H, "Hello GLFW", NULL, NULL);
  glfwMakeContextCurrent(window);

  // main loop
  while (!glfwWindowShouldClose(window))
  {
    glfwPollEvents();
  }

  // done
  glfwTerminate();
  return 0;
}
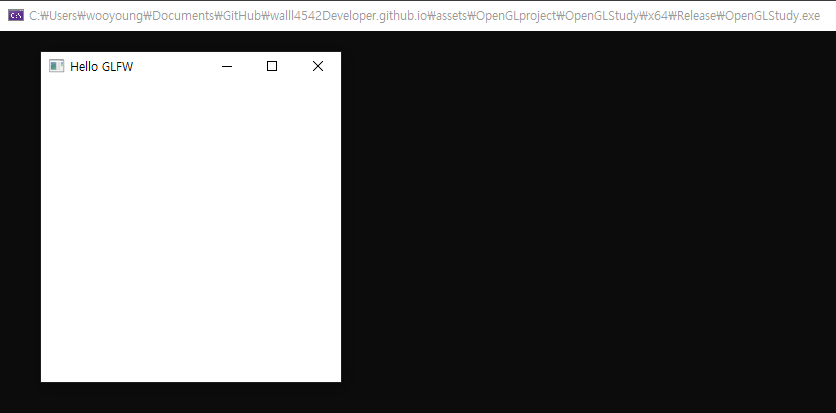
${300 * 300}$ 크기의 GLFW 윈도우를 출력하는 간단한 코드입니다.
콘솔 창과 함께 ‘Hello GLFW’ 창이 흰색 배경으로 출력되면 빌드 성공입니다.
GLEW 설치
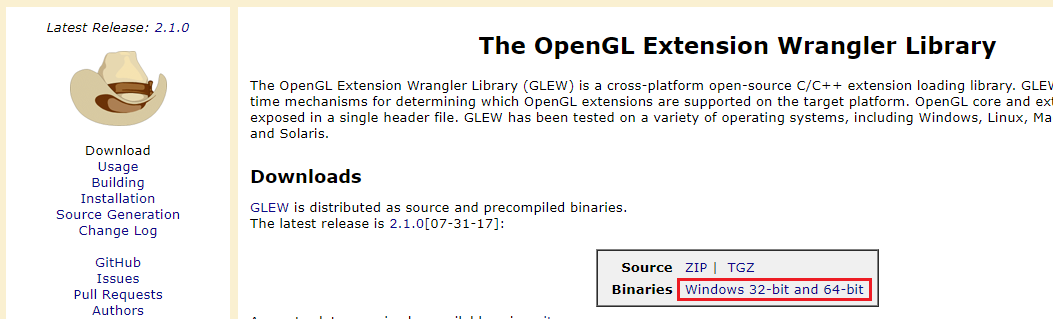
(GLEW Windows Pre-compiled binary, GLEW)
GLEW 사이트에 접속하여 ‘Binaries’ 를 클릭하여 다운로드 받습니다.
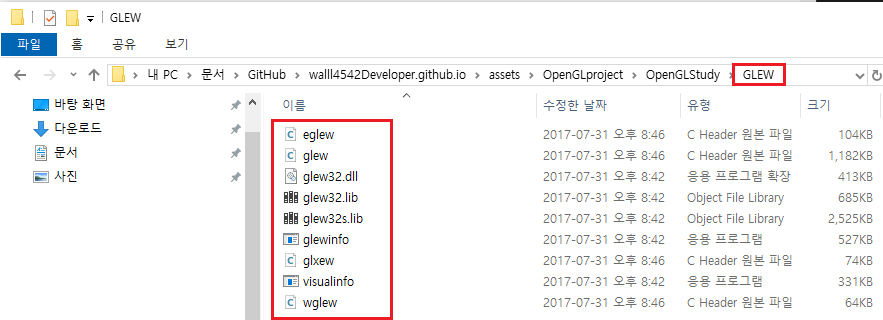
GLFW와 동일하게 설치할 수 있습니다. 공용 폴더에 라이브러리 설치하거나 직접 라이브러리 폴더 경로에 설정해줍시다. 반드시 운영체제가 동일하게 설치하셔야 합니다.

win32 와 x64 폴더 내부의 파일 이름이 동일해서 혼동이 생길 수 있으니 조심하세요.
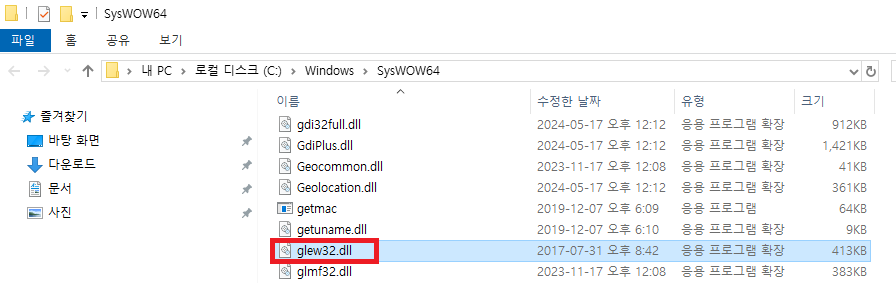
만약 빌드시 glew32.dll 파일이 제대로 설치 되지 않았다는 에러가 나오는 경우 직접 ‘C:\Windows\SysWOW64’ 경로에 .dll 파일을 두어 해결 할 수 있습니다.
glewinfo / visualinfo
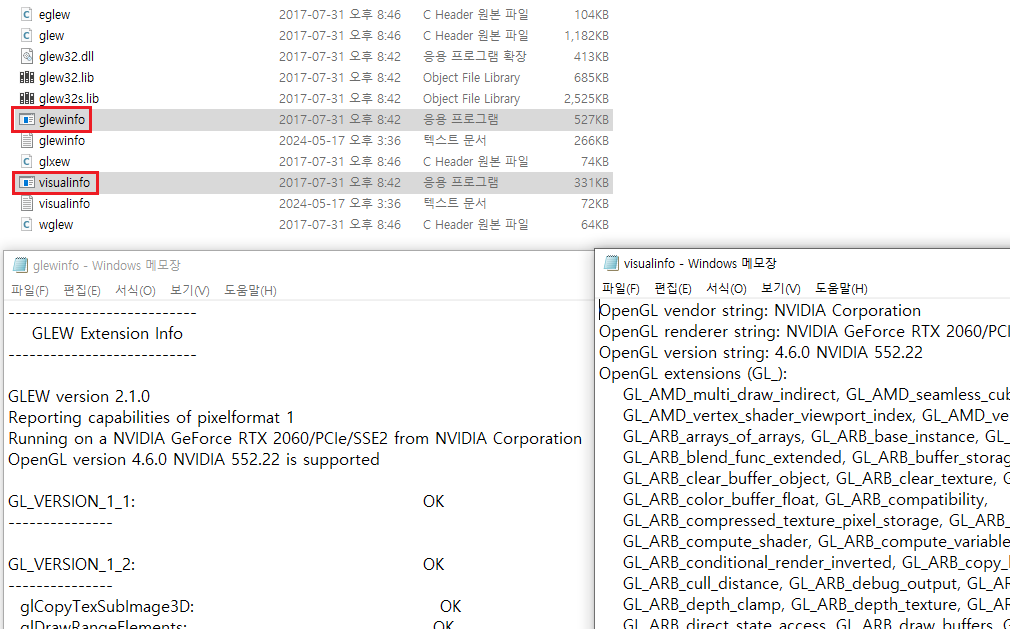
glewinfo.exe visualinfo.exe 파일을 실행 해보면 glewinfo.txt visualinfo.exe 파일이 생성됩니다.
glewinfo.txt는 지원되는 OpenGL 버전, 익스텐션, 함수등의 정보를 포함하고 있습니다.visualinfo.txt는 OpenGL 익스텐션 리스트와 가능한 프레임 버퍼 설정에 대한 정보를 포함하고 있습니다.
IDE 설정하기
glew32.lib opengl32.lib를 #pragma 전처리기를 이용하여 직접 코드에 추가해줍니다.
#pragma comment(lib, "glew32.lib")
#pragma comment(lib, "opengl32.lib")
#pragma comment(lib, "glfw3.lib")
GLEW 간단한 프로그램 작성
#include"stdio.h"
#include"GLEW/glew.h"
#include"GLFW/glfw3.h" // include 순서가 glfw3.h 가 glew.h 뒤에 와야 합니다

#pragma comment(lib, "glew32.lib")
#pragma comment(lib, "opengl32.lib")
#pragma comment(lib, "glfw3.lib")

const unsigned int WIN_W = 300;
const unsigned int WIN_H = 300;

int main(void)
{
  // start GLFW
  glfwInit();
  GLFWwindow * window = glfwCreateWindow(WIN_W, WIN_H, "Hello GLFW", NULL, NULL);
  glfwMakeContextCurrent(window);

  // start GLEW
  glewInit();

  // main loop
  while (!glfwWindowShouldClose(window))
  {
    //draw
    glClear(GL_COLOR_BUFFER_BIT);

    //end loop
    glfwSwapBuffers(window);
    glfwPollEvents();
  }

  // done
  glfwTerminate();
  return 0;
}
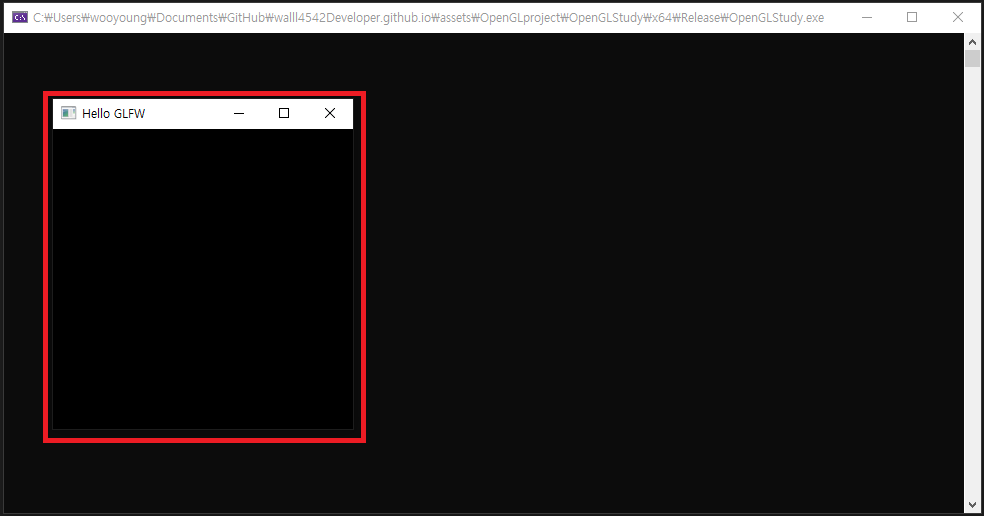
${300 * 300}$ 크기의 GLFW 윈도우를 검은색으로 출력하는 간단한 코드입니다.
콘솔 창과 함께 ‘Hello GLFW’ 창이 검은색 배경으로 출력되면 빌드 성공입니다.
레퍼런스(Reference)
- Nvidia 다운로드 센터 : https://www.nvidia.co.kr/Download/index.aspx?lang=kr
- Nvidia Geforce Experience : https://www.nvidia.com/en-us/geforce/geforce-experience/
- GLFW : https://www.glfw.org/
- GLEW : https://glew.sourceforge.net/